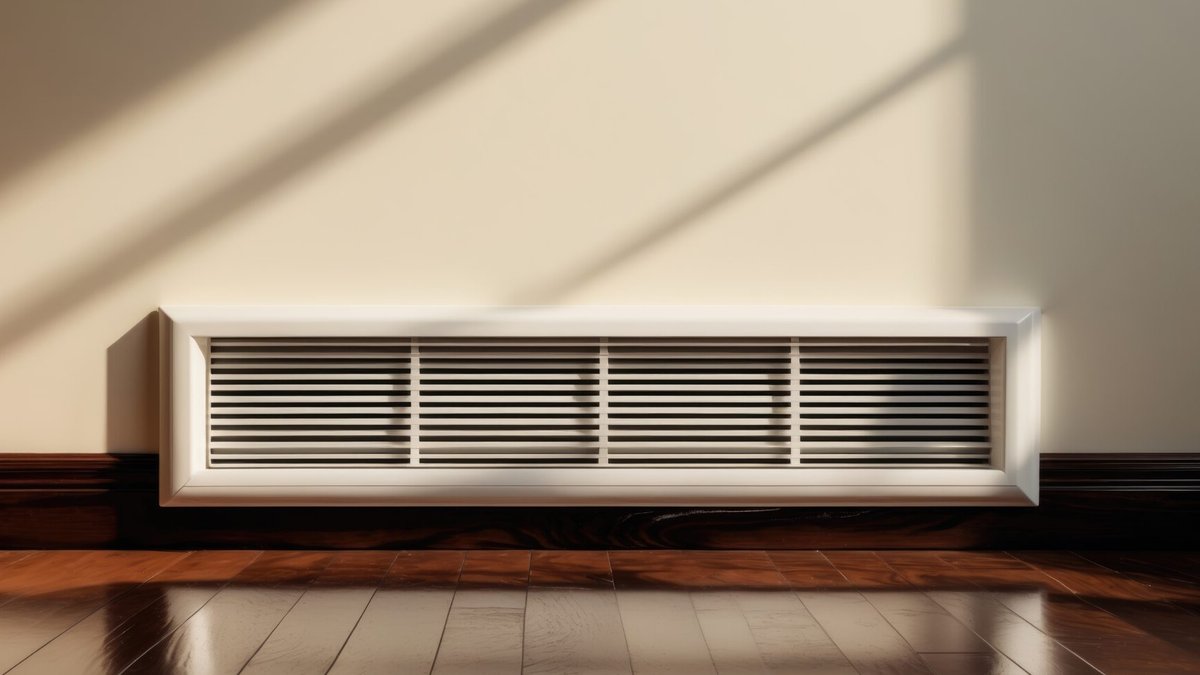
Baseboard heating covers are a basic yet frequently ignored element of home upkeep. They typically cost between $20 and $50 per linear foot, but their role in energy efficiency and safety is significant. When covers show rust, dents, or yellowing, replacing them is usually simpler and more effective than attempting repairs. Damaged covers can raise energy costs, create hazards from sharp edges, and make a room look unkempt. Fortunately, this task is well-suited for do-it-yourselfers and does not require disconnecting the heating unit.
These covers serve two key functions: concealing heating elements and improving airflow. Over time, they deteriorate from rust, holes, or warping, which does more than create an eyesore. They allow heat to escape, forcing the system to work harder and increasing energy consumption. Metal covers, particularly galvanized steel, conduct heat more effectively than plastic or wood, making them the most energy-efficient choice. If a cover is warped, corroded, or difficult to clean, replacing it is the fastest way to restore both efficiency and safety.
Many homeowners ignore this issue until they notice uneven heating or higher bills. The solution is straightforward: turn off the heater, remove the old cover, and install a new one. No electrical work is involved—only careful handling around sharp metal edges. The entire process usually takes less than an hour, and precut covers eliminate the need for custom measurements in most cases.
Replacing a Baseboard Heating Cover: Step-by-Step
The procedure is nearly identical for both electric and hydronic (hot water) systems, though hydronic covers are often easier to replace. Here’s how to do it safely:
- Turn off and allow the heater to cool. Flip the switch or lower the thermostat and wait 30 to 60 minutes for the unit to cool down. This prevents burns and ensures a clean fit.
- Remove the old cover by first taking off the metal end caps. Measure the length of the exposed metal baseboard—not the cover—to confirm the new one will fit. If using a precut cover, skip measuring and verify it matches the manufacturer’s specifications.
- Adjust the size if necessary. Most precut covers require no trimming, but custom or modular covers may need adjustments. Use a fine-tooth hacksaw, sheet metal snips, or heavy-duty scissors to cut along marked lines. Wear gloves and safety glasses, as sharp edges are common.
- Clean and prepare the area by wiping down the baseboard and surrounding space to remove dust or debris. If the old cover was sealed with caulk, scrape it away so the new cover fits securely without gaps.
- Install the new cover by hooking the bottom under the baseboard bracket. Lift slightly while pushing the top toward the wall until a click is heard, this locks the back tab into place. Repeat for both end caps, pressing firmly until they secure.
- Test and complete the installation by turning the heater back on and checking airflow. If the cover is paintable, turn the heat off again before applying a fresh coat. Avoid high-gloss paints, as they can trap heat and reduce efficiency.
For hydronic systems, slip-on covers designed for hot water baseboards are available. These snap into place without tools, simplifying installation. Electric baseboard covers may require slight variations, but the core steps remain unchanged.
Selecting the Right Cover: Cost, Material, and Design
Pricing varies based on material and customization. Standard metal covers range from $20 to $50 per foot, while custom or high-end designs can exceed $100 per foot. Consider these factors when choosing:
- Material: Metal, particularly galvanized steel, is the most efficient option. Plastic and wood are also available, though wood may not conduct heat as effectively.
- Style: Slotted metal covers allow better airflow than solid panels. Some covers mimic trim or baseboards for a seamless appearance.
- Fit: Precut covers work for standard lengths, while modular pieces allow mixing and matching sections. Odd-shaped heaters may require custom covers.
Before purchasing, measure the exposed length and width of the baseboard. Most covers specify whether they are for hydronic or electric systems, using the wrong type can result in poor fits or safety risks.
When Professional Help Is Needed
Replacing a baseboard heating cover is usually within a homeowner’s abilities, but certain situations call for professional assistance:
- The cover is stuck due to corrosion or old caulk that cannot be removed.
- There are signs the heating unit itself is malfunctioning, such as uneven heat output or unusual noises.
- The baseboard belongs to an older system with non-standard dimensions.
In most cases, however, the time and cost savings of a do-it-yourself approach outweigh the risks. The average homeowner spends $20 to $50 on materials and about an hour of labor, far less than hiring a technician for the same task. The benefits include improved energy efficiency, a cleaner appearance, and confidence that the heating system operates safely.
