
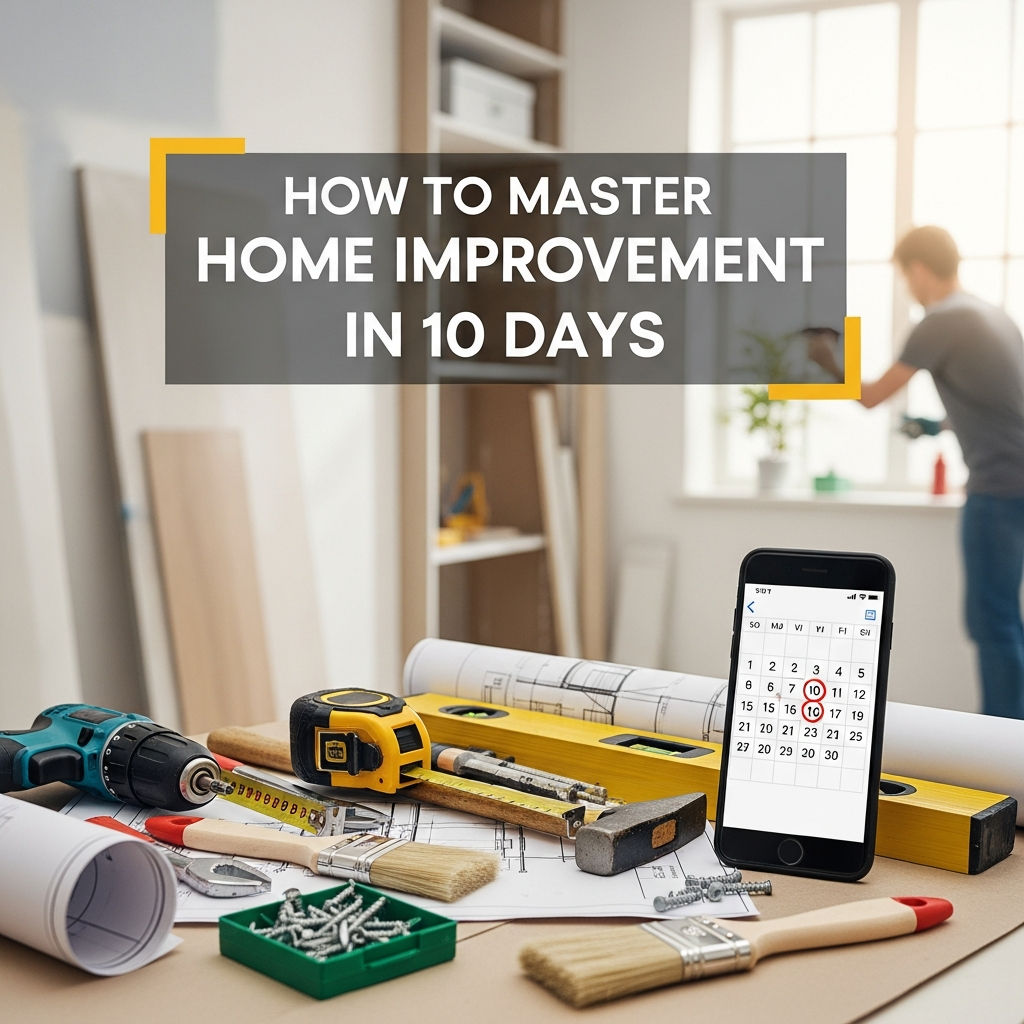
How to Master Home Improvement in 10 Days: The Ultimate DIY Guide
The idea of “mastering” home improvement often brings to mind years of apprenticeship, expensive power tools, and complex blueprints. However, home improvement is as much about strategy and intentionality as it is about manual labor. While you won’t become a master carpenter in a week and a half, you can absolutely master the art of the home refresh.
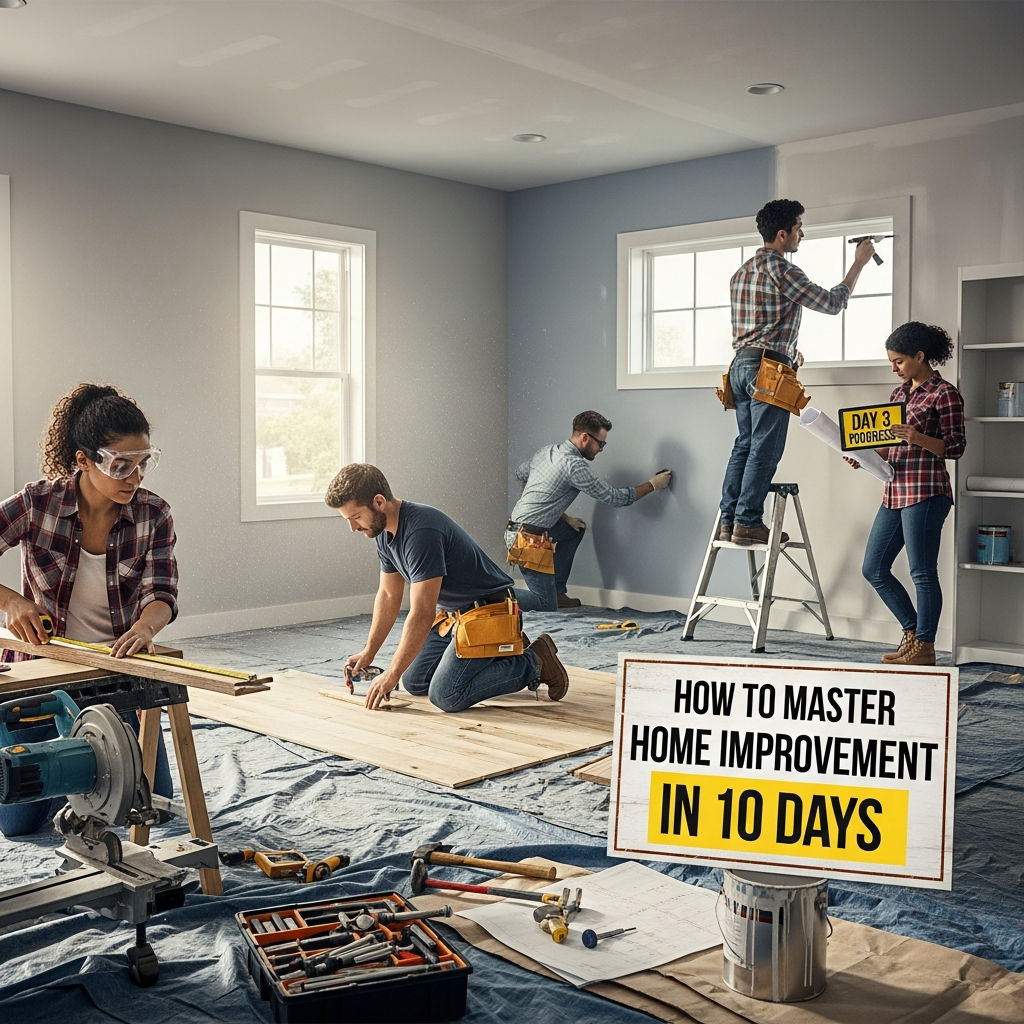
In this comprehensive guide, we break down a 10-day intensive program designed to transform your living space. By focusing on high-impact, manageable projects, you can revitalize your home’s aesthetic, increase its value, and gain the confidence to tackle any future DIY challenge.
Day 1: The Strategy and Budget Phase
Every successful project begins with a plan. Day 1 is dedicated to the “mental” side of home improvement. Mastering your home requires knowing your limits—both financial and physical.
- Walk-through Audit: Walk through every room with a notebook. Note chipped paint, loose handles, outdated lighting, or cluttered corners.
- The Budget: Decide on a hard limit. Home improvement costs can spiral quickly without a predefined ceiling.
- Resource Gathering: Identify the tools you have and the ones you need to rent or buy. Essential tools include a cordless drill, a level, a high-quality paintbrush, and a measuring tape.
Day 2: Decluttering and Spatial Flow
You cannot improve a space that is hidden under clutter. Day 2 focuses on “The Purge.” Mastering home improvement means understanding that sometimes, less is more. Research shows that a decluttered home reduces stress and improves functionality.
- The Three-Box Method: Label boxes as “Keep,” “Donate,” and “Trash.”
- Visual Mapping: Once a room is clear, evaluate the flow. Is the sofa blocking a natural walkway? Moving furniture is the most cost-effective home improvement technique available.
Day 3: The Power of Paint
Paint is the “magic wand” of home renovation. It is the most cost-effective way to change the mood of a room. On Day 3, focus on the walls.
Mastering paint requires attention to detail. Don’t skip the prep work. Use high-quality painter’s tape and drop cloths. If you are a beginner, stick to neutral tones like “greige” or soft whites, which make spaces feel larger and more modern. Consider an accent wall in a deeper hue to add depth to a living room or bedroom.
Day 4: Lighting and Ambiance
Lighting is often the most overlooked element of home design. Mastery involves understanding the three layers of lighting: Ambient (general), Task (reading/cooking), and Accent (highlighting art or architecture).
- Swap Fixtures: Replace outdated “boob lights” with modern flush mounts or pendant lights.
- Update Switches: Install dimmer switches to give you total control over the atmosphere.
- Bulb Consistency: Ensure all bulbs in a room have the same color temperature (measured in Kelvins). 2700K-3000K is ideal for a warm, cozy feel.
Day 5: The Kitchen Refresh (Hardware and Backsplash)
A full kitchen remodel costs tens of thousands of dollars, but you can master the “mini-remodel” in a single day. Focus on the “jewelry” of the kitchen: the hardware.
Swapping out old, greasy cabinet pulls for modern matte black or brushed brass handles can shave a decade off your kitchen’s perceived age. If you’re feeling ambitious, use peel-and-stick subway tiles for a temporary but high-end backsplash look.
Day 6: Bathroom Revitalization
Bathrooms are high-traffic areas where small changes make a big impact. Day 6 is about hygiene and aesthetics.
- Recaulking: Remove old, moldy caulk around the tub and sink. Applying a fresh, white bead of silicone caulk makes the bathroom look brand new.
- The Showerhead: Upgrade to a rainfall showerhead for an instant “spa” feel.
- Vanity Update: Paint the vanity cabinet or replace the faucet for a more contemporary look.
Day 7: Flooring and Rug Mastery
While you may not be able to install new hardwood floors in a day, you can master the “floor-up” design philosophy. If your carpets are dingy, rent a professional-grade steam cleaner. If you have hard floors that feel cold, Day 7 is for zoning with rugs.
A large area rug can hide floor imperfections and define a space. Ensure the rug is large enough that the front legs of your furniture sit on it; this creates a sense of unity and professional design.
Day 8: Doors, Trim, and Small Details
The difference between an amateur and a master is the “finish work.” Day 8 focuses on the details that most people ignore but everyone notices subconsciously.
- Door Handles: Replace old brass knobs with modern levers.
- Scuffed Trim: Use a “magic eraser” or a small touch-up brush to fix scuffs on baseboards and door frames.
- Vent Covers: Replace rusty or painted-over floor vents with clean, new metal covers.
Day 9: Curb Appeal and Exterior Wins
Home improvement isn’t just for the interior. Day 9 is about the “first impression.”
Mastering curb appeal involves three quick tasks: power washing the walkway, updating the house numbers to a modern font, and painting the front door a bold, welcoming color. These three tasks can be completed in a few hours but significantly boost your home’s “pride of ownership” and market value.
Day 10: Styling and “The Rule of Three”
The final day is for styling—the finishing touch of any home improvement journey. This is where you bring personality into the space.
The Rule of Three: When decorating shelves or coffee tables, group items in odd numbers (usually three). Vary the heights and textures—for example, a tall vase, a medium-sized book, and a small candle. This creates visual interest and looks professionally curated.
Essential Tips for Home Improvement Success
To truly master these 10 days, keep these expert tips in mind:
- Safety First: Always turn off the breaker when working with electricity and wear a mask when sanding or using strong chemicals.
- Measure Twice, Cut Once: This old adage remains the golden rule of home improvement. Accuracy saves money and frustration.
- Don’t Cheap Out on Tools: You don’t need the most expensive gear, but the cheapest paintbrushes will leave bristles on your walls. Aim for mid-range, reputable brands.
- Watch Tutorials: Platforms like YouTube are a masterclass in themselves. Before you start Day 5 or Day 6, watch a professional perform the task.
Conclusion: The Journey of a Homeowner
Mastering home improvement in 10 days is about building momentum. By the end of this period, your home will look significantly better, but more importantly, you will have developed the “DIY mindset.” You will stop seeing your home as a static environment and start seeing it as a canvas that you have the power to change.
Remember, the goal isn’t perfection; it’s progress. Every screw you tighten and every wall you paint builds your skill set. Start small, stay consistent, and enjoy the process of making your house truly feel like a home.